
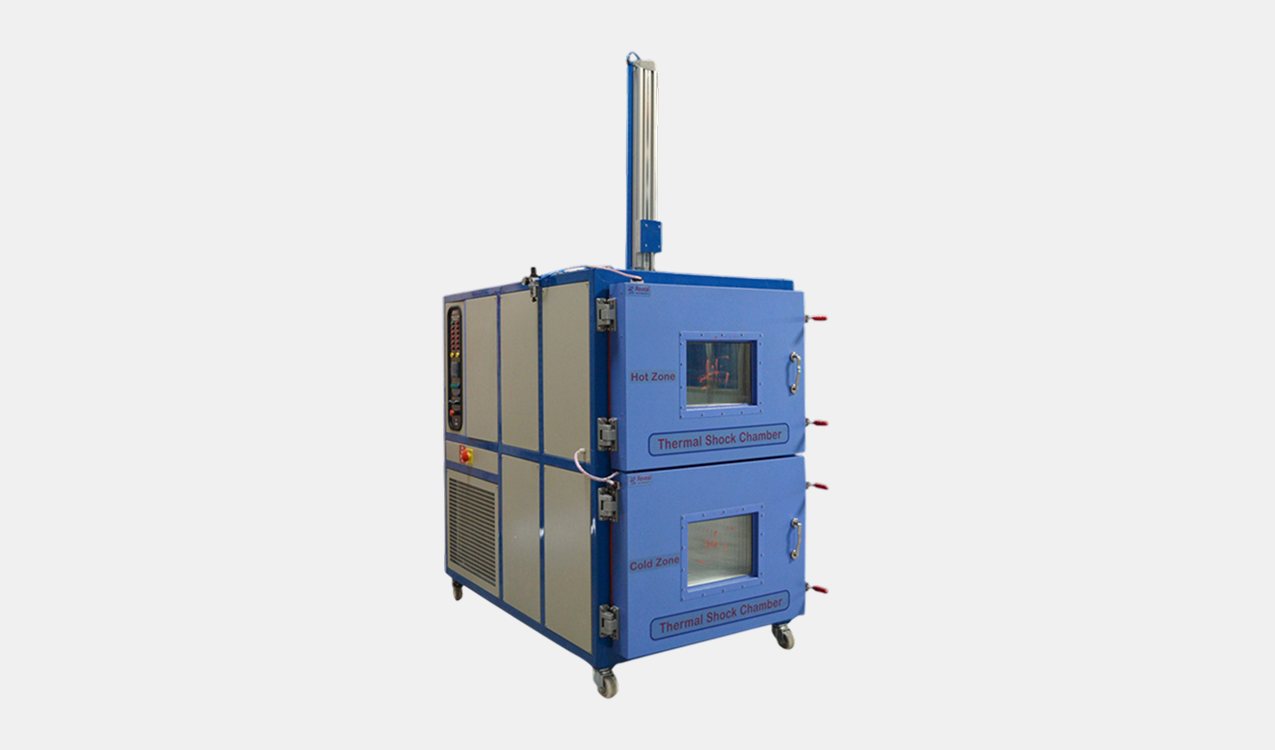
Thermal Shock Chambers are used to test the reliability and durability of products or materials when subjected to extreme and rapid temperature changes. These chambers are crucial in industries like automotive, aerospace, electronics, and defense to simulate real-world thermal stress conditions.
Some Essential Features of Thermal Shock Chamber
These chambers are designed for reliability, accuracy, and long-term durability, with several key features:
-
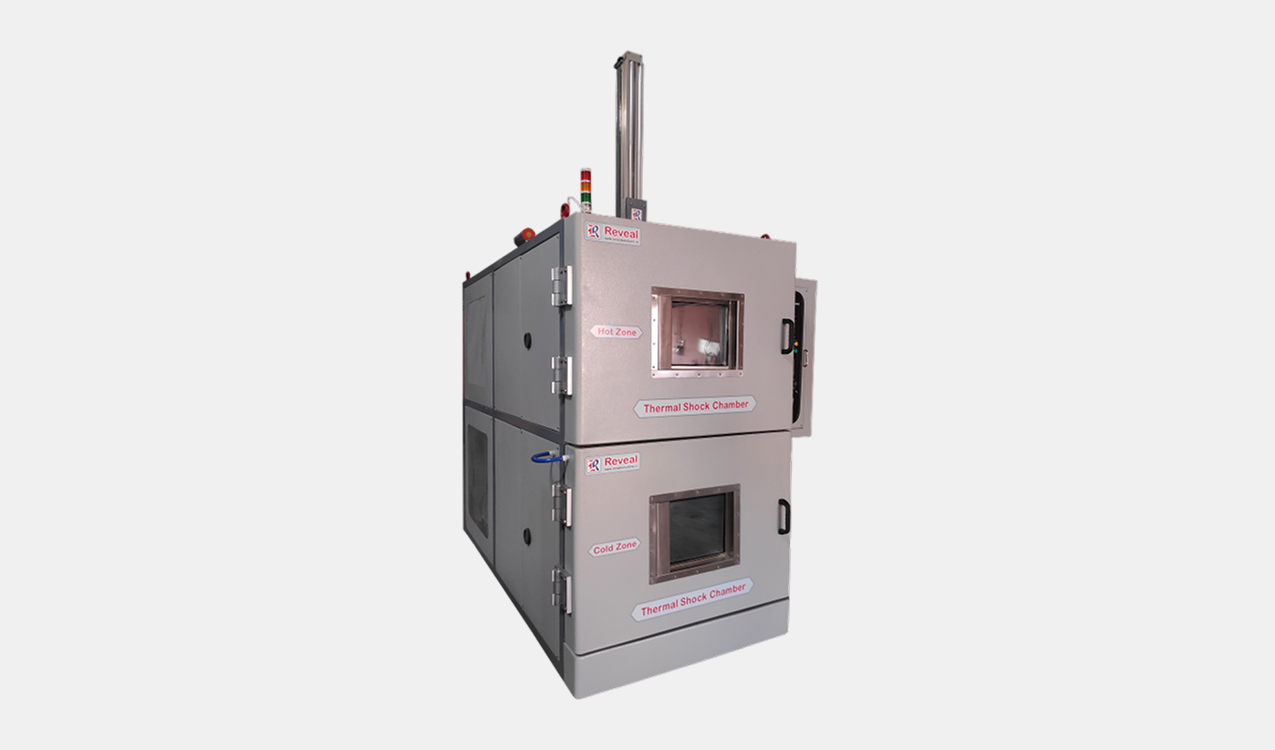
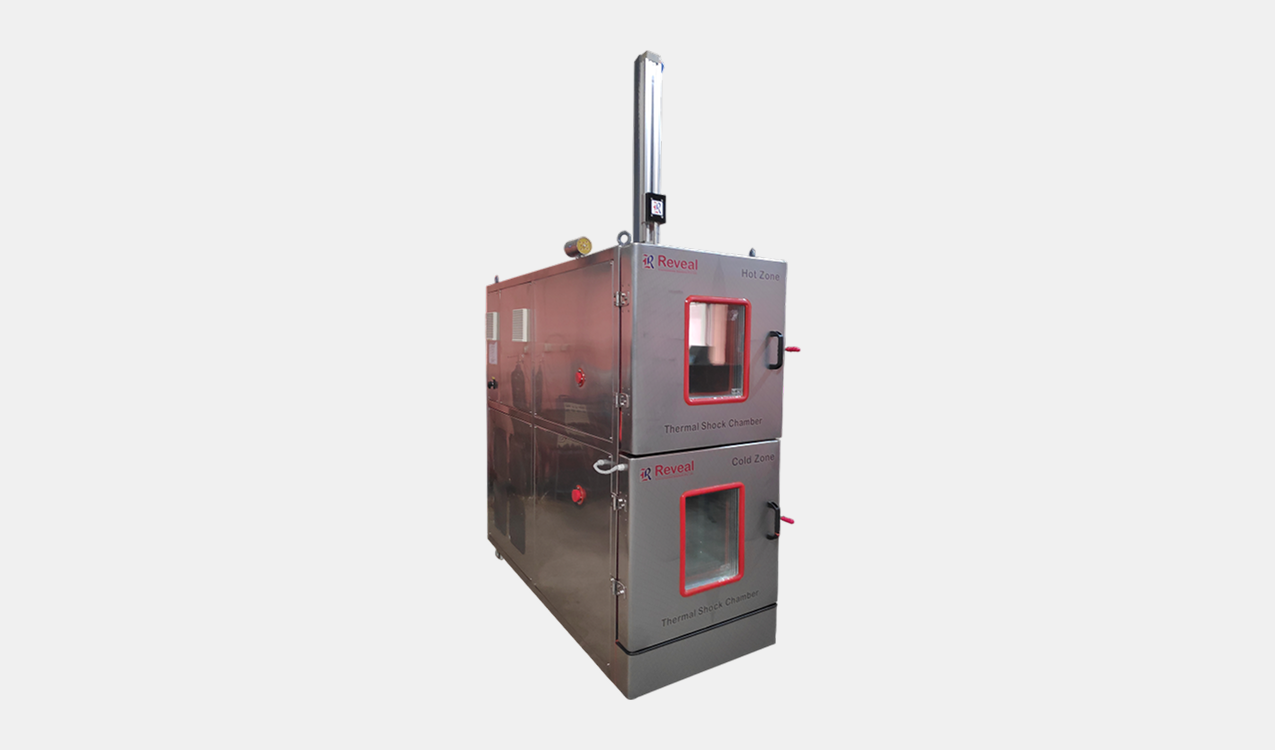
Two-Zone or Three-Zone Configuration
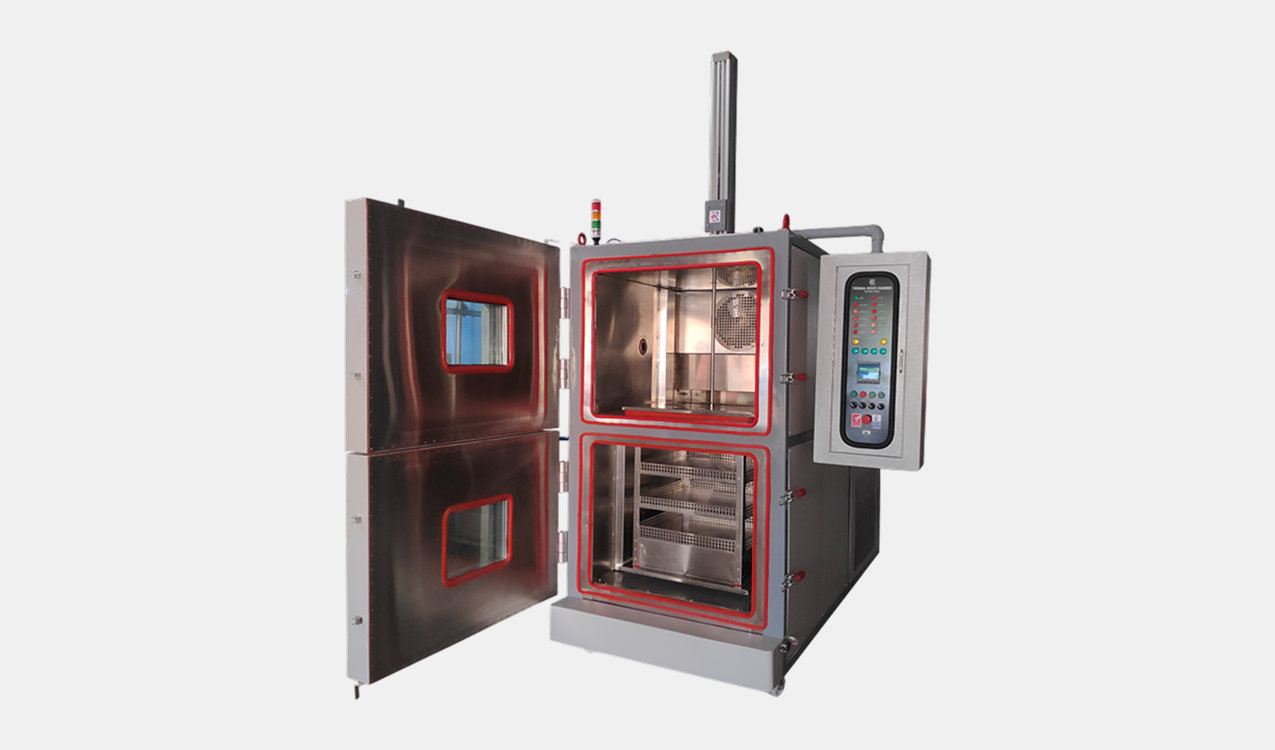
- Two-zone: Hot and cold zones with a basket that moves between them.
- Three-zone: Hot, cold, and ambient zones for more precise control and testing.
-
Wide Temperature Range
- Typically from -70°C to +200°C.
- Fast transfer between zones (within seconds) to simulate abrupt temperature shifts.
-
Rapid Transfer Time
- Fast-moving mechanisms (basket or air damper) to shift the sample between zones within 10 to 30 seconds, ensuring thermal shock conditions.
-
High Precision & Stability
- Accurate temperature control with PID controllers.
- Temperature uniformity across test space for consistent results.
-
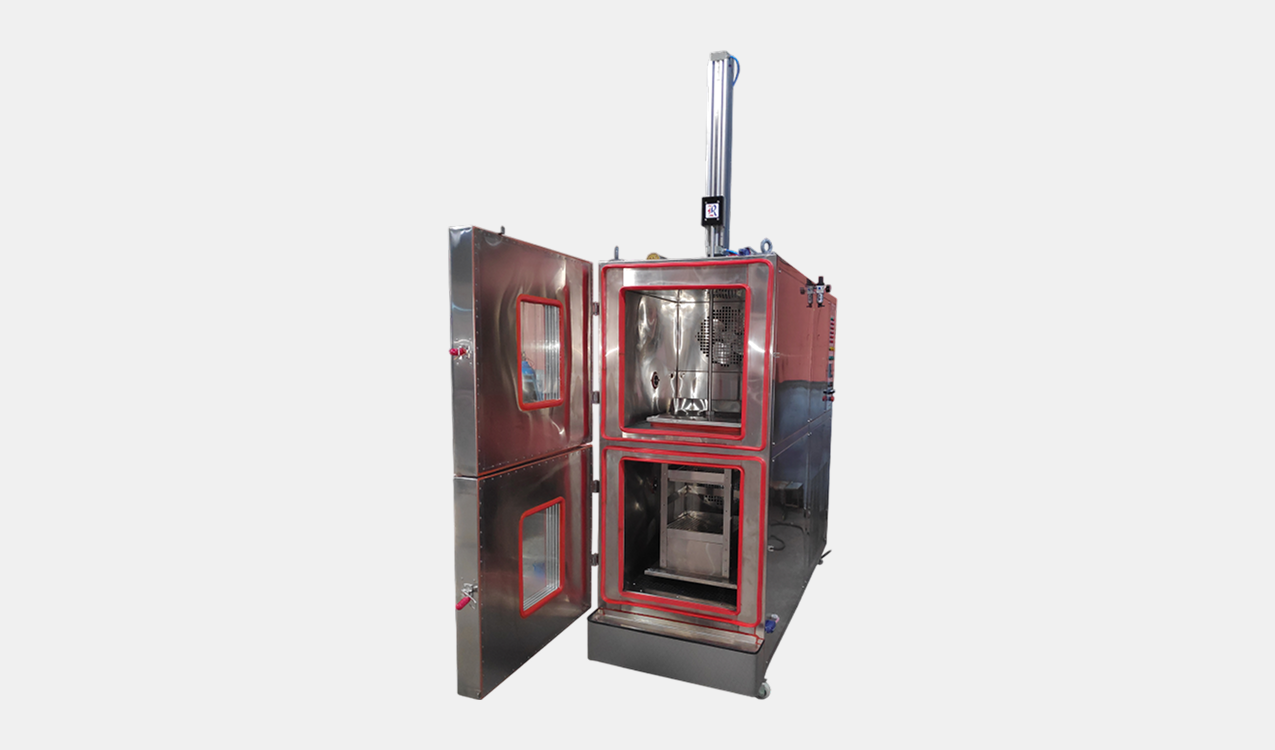
Robust Construction
- Durable materials (stainless steel interior, insulated walls).
- Designed to withstand repeated thermal cycling without degradation.
-
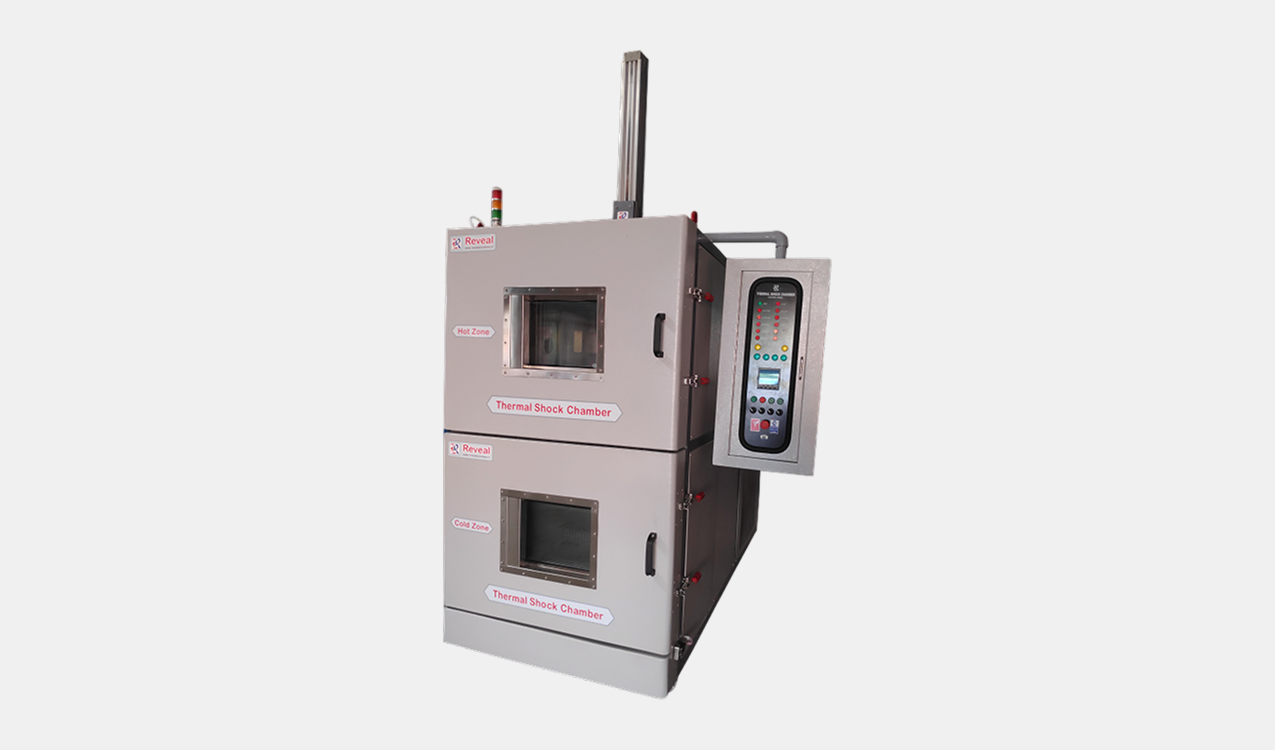
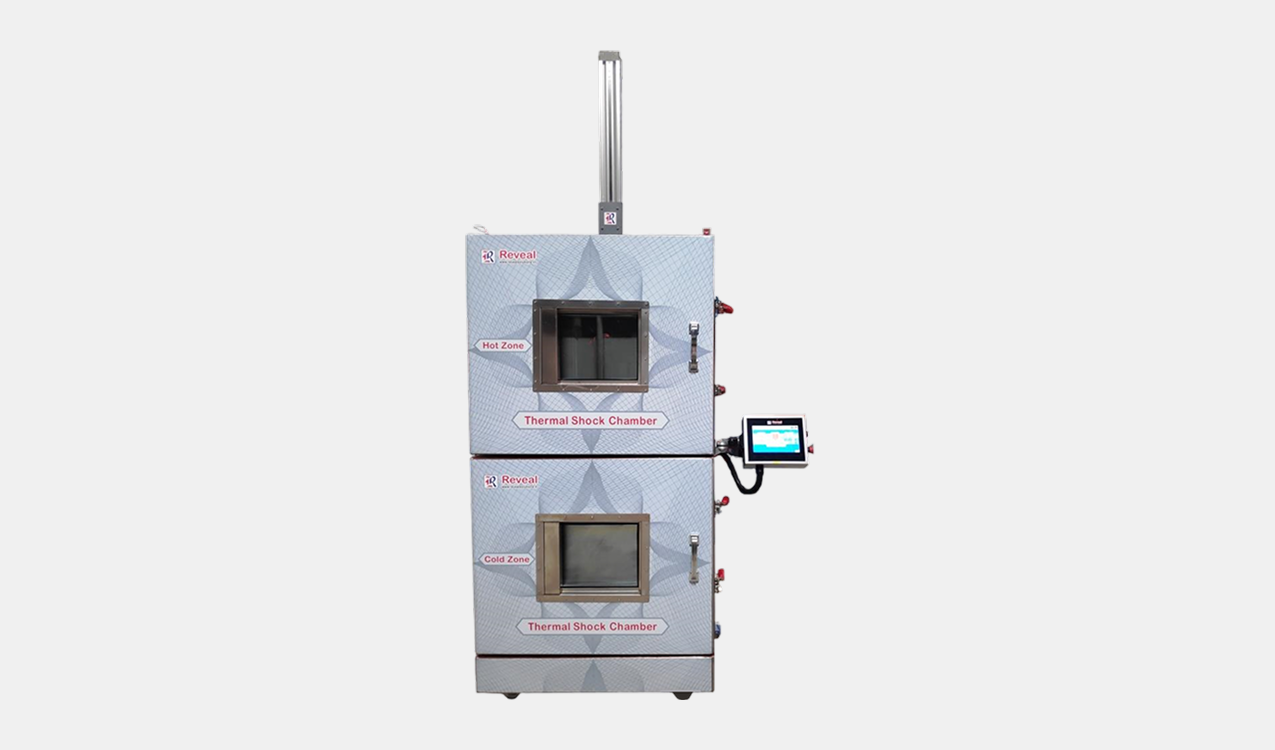
Programmable Control System
- Touchscreen interfaces with programmable test profiles.
- Data logging and remote monitoring via Ethernet or USB.
-
Safety Features
- Over-temperature protection.
- Door interlocks and alarms for operator safety.
-
Environmental & Energy Efficiency
- Eco-friendly refrigerants.
- Efficient thermal insulation to reduce energy consumption.
-
Customizable Sizes & Configurations
- Bench-top models for small components.
- Walk-in or drive-in chambers for large equipment or systems.
Key Applications of Thermal Shock Chambers
These chambers are used across various sectors such as:
-
Electronics & Semiconductors
Purpose: Test solder joints, PCBs, IC packages, and microchips for cracking or delamination.
Why: Electronic components are sensitive to thermal stress, which can cause failures in real-world use. -
Automotive Industry
Purpose: Test components like sensors, control units, dashboards, and engine parts.
Why: Vehicles experience rapid temperature changes (e.g., winter starts, engine heat), so components must be resilient. -
Aerospace & Defense
Purpose: Evaluate the reliability of avionics, satellite components, and defense systems.
Why: Extreme and sudden temperature changes in flight or space environments require high durability. -
Consumer Electronics
Purpose: Assess the performance of smartphones, tablets, and wearables.
Why: Daily temperature exposure (e.g., from indoors to outdoors) can degrade performance over time. -
LED & Lighting Systems
Purpose: Verify thermal shock resistance in LEDs, which are prone to thermal expansion/contraction failures.
Why: Ensures long lifespan and reliability under fluctuating temperatures. -
Materials Research & Development
Purpose: Study the physical behavior of metals, plastics, composites, and ceramics under thermal stress.
Why: Helps in developing materials with better thermal endurance and structural integrity. -
Railways and Transportation
Purpose: Test brake systems, connectors, and control modules.
Why: These systems must perform under varying climate conditions and sudden temperature shifts. -
Manufacturing Quality Assurance
Purpose: Perform routine stress screening on production batches.
Why: To detect manufacturing defects early and ensure long-term reliability of products.
Standard Models
| Models | Unit | TS-36 | TS-65 | TS-125 | TS-210 | TS-340 | TS-1000 |
|---|---|---|---|---|---|---|---|
| Test Basket Dimension (D/L X W X H) | mm | 300 x 300 x 400 | 400 x 400 x 400 | 500 x 500 x 500 | 600 x 600 x 600 | 700 x 700 x 700 | 1000 x 1000 x 1000 |
| inch | 12 x 12 x 16 | 16 x 16 x 16 | 20 x 20 x 20 | 24 x 24 x 24 | 28 x 28 x 28 | 39 x 39 x 39 | |
| Test Basket Volume | Ltr | 36 | 65 | 125 | 210 | 340 | 1000 |
| Hot Zone Temperature Range | (°C) | Ambient to +220 | |||||
| Cold Zone Temperature Range | (°C) | Ambient to -70 | |||||
| Basket Transition | < 10 sec | ||||||
| Recovery Time | < 5 to 8 min | ||||||